How to clean wheels, tyres and arches
Everyone will have their own preference on how they like to tackle their wheels depending on the process they adopt. We recommend having a separate bucket, to your wash and rinse bucket, for the wheels as they can be particularly dirty; alternatively, you may wish to clean your wheels after your contact wash when you have finished with the wash bucket. Start with an initial rinse of the arches, tyres and wheels to remove the loose dirt before working top down and inside-out of the wheels.
What you will need:
- Wheel Cleaner
- Citrus Pre-Wash / All Purpose Cleaner
- Iron Remover
- Tyre Dressing
- Various tyre, wheel and detail brushes
- Wheel wash mitt
- Wheel drying towel
Wheels
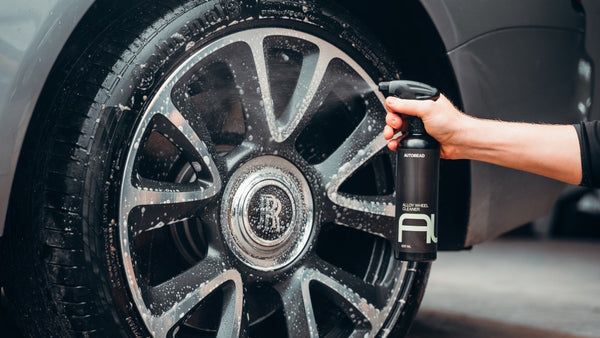
Using a Non-acidic Wheel Cleaner, spray the product liberally on to the alloy and allow a short dwell time to allow it to break down the dirt and grime build up.

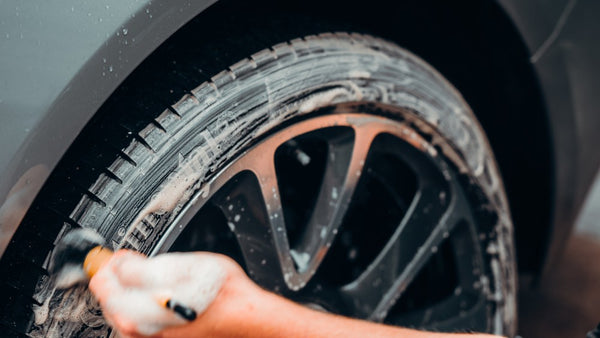
Deploying an array of detailing brushes will help you to gently agitate the wheel’s surface to loosen the dirt and contaminants.
A wheel woolie is the perfect tool for getting into the barrels. A small detail brush will help disrupt the dirt in the smaller, harder to reach areas such as bolts, badges and the crevices.
Finishing off with your designated wheel mitt you will be able to clean the surface of the wheel face with ease. The mitt will also be a good option for cleaning behind the alloy spokes to ensure nothing was missed by the barrel brush.
Top Tip: Iron (Fallout) Remover should not be mistaken as a wheel cleaner as it is not designed to remove road dirt and grime. Iron Remover should be used after Alloy Wheel Cleaner to obtain the best results.

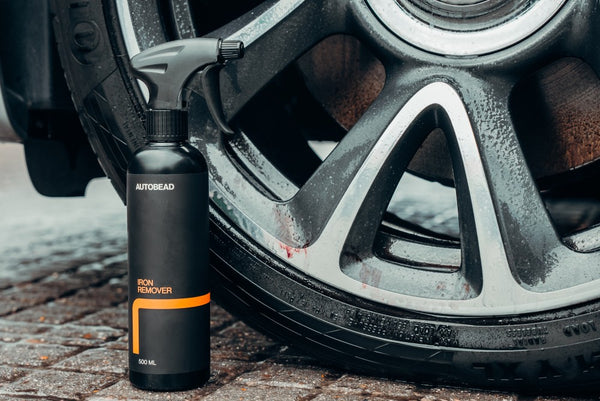
Spray the Iron Remover on the alloys and allow it to dwell. Watch as the product turns purple as it reacts with the iron particles that are embedded on the wheels, making the contamination easier to be washed away.
Tyres
You can use All Purpose Cleaner (APC) or your Wheel Cleaner (non-acidic) to clean the tyres.
Spray the product over the surface of the tyre then agitate with a stiff bristle brush. The product will foam with brown suds as it removes dirt and breaks down any remaining tyre dressing previously applied.

You may need to rinse and repeat this process until the suds are white, indicating that the rubber is now clean. This is important as having clean rubber will allow the new tyre dressing to bond better and last longer.
Arches
Although this area would be easier to clean with the wheels off for full access, for now we will focus on maintenance cleaning, where the wheels will typically remain on.
The wheel arches can sometimes be overlooked but are an important part of cleaning around the wheel area otherwise the dirt trapped here will simply cover the wheels again once you start driving.
You can opt for Citrus Pre-Wash (Heavy Dirt) or an APC and spray the product into the wheel arch.
A wheel woolie or barrel brush will be ideal for agitating around the arches and loosening the remaining dirt.
Some wheel arches (typically in the rear) will be carpeted – the same approach will suffice but note it may take longer to ensure these arches are properly cleaned and flushed out.
Once you have completed cleaning the wheels, give them a thorough rinse out. Checking your work for any missed bits or stubborn dirt that may need to be hit again.
Drying
It is good practice to have a designated wheel drying towel to attend to these areas.
An alternative is to use forced air, this will help remove water from tight areas that a drying towel might have missed.
Top Tip: If you are using forced air, you can focus the nozzle on the tyre, moving slowly around the wheel and watch as the rubber changes as the water is forced away and it dries. This is an effective way to dry the tyres, saving you time and enabling you to apply the tyre dressing quicker.
Protection
Now that your wheels are spotless, you may wish to add protection to lock in the perfect finish you have achieved. One option for doing this is applying a ceramic coating which will help repel water and contaminates. Check out our ‘Applying Ceramic Coating for your Wheels’ blog for more information.
Now step back and admire your work!

